Linux 7.4上安装配置Oracle 11.2.0.4图文教程
吾爱主题
阅读:236
2024-04-05 13:52:27
评论:0

1. 配置yum源及关闭selinux
?| 1 2 3 4 5 6 7 8 9 10 11 12 | [root@localhost ~] # mkdir /media/rhel [root@localhost ~] # mount /dev/cdrom /media/rhel mount : /dev/sr0 is write-protected, mounting read -only [root@localhost ~] # vi /etc/yum.repos.d/iso.repo [iso] name=iso baseurl= file : ///media/rhel enabled=1 gpgcheck=0 [root@localhost ~] # vi /etc/selinux/config # modify selinux=disabled |
2. 安装桌面环境(如果未安装)
?| 1 | [root@localhost ~] # yum -y group install "server with gui" |
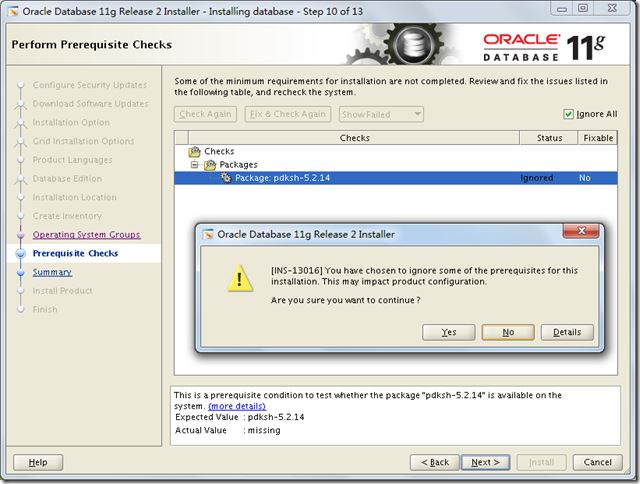
3. 安装软件包
?| 1 | [root@localhost ~] # yum -y install binutils binutils-devel compat-libcap1 compat-libstdc++-33 compat-libstdc++-33.i686 ksh elfutils-libelf elfutils-libelf-devel glibc glibc-common glibc-devel glibc-headers gcc gcc-c++ libaio libaio.i686 libaio-devel libaio-devel.i686 libgcc libstdc++ libstdc++.i686 libstdc++-devel libstdc++-devel.i686 make sysstat unixodbc unixodbc-devel libxp libxp-devel libxpm-devel telnet |
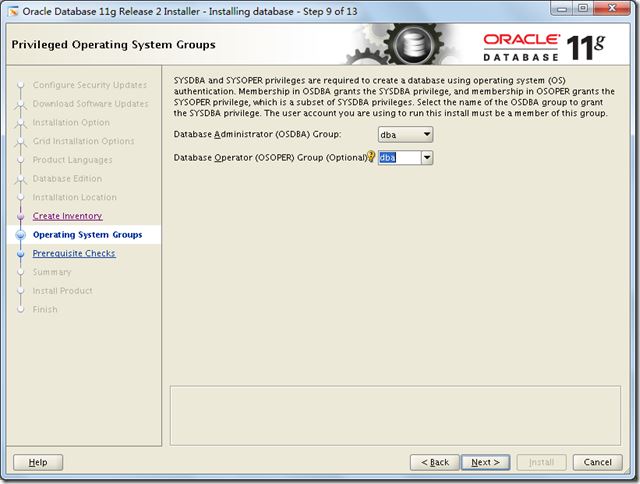
4. 建立用户
?| 1 2 3 4 5 6 7 8 9 10 11 12 13 14 15 | [root@localhost ~] # groupadd oinstall [root@localhost ~] # groupadd dba [root@localhost ~] # useradd -g oinstall -g dba oracle [root@localhost ~] # passwd oracle [root@localhost ~] # vi /etc/profile #在末尾加入 if [ \$user = "oracle" ]; then if [ \$shell = "/bin/ksh" ]; then ulimit -p 16384 ulimit -n 65536 else ulimit -u 16384 -n 65536 fi umask 022 fi |
5. 建立文件夹
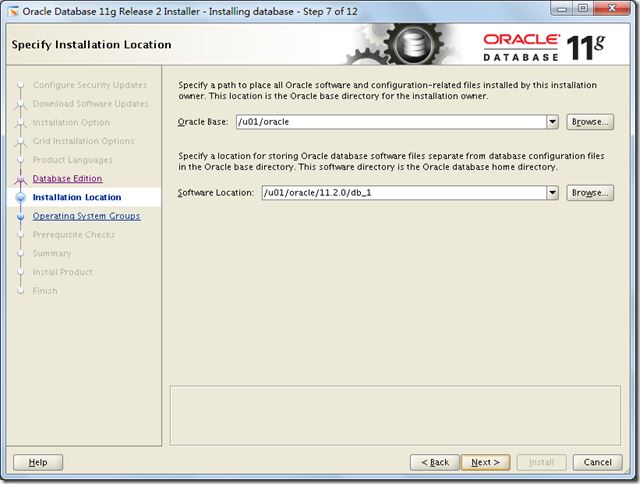
?| 1 2 3 4 5 6 | [root@localhost ~] # mkdir -p /u01/oracle [root@localhost ~] # mkdir -p /u01/oracle/11.2.0/db_1 [root@localhost ~] # chown -r oracle:oinstall /u01/oracle/ [root@localhost ~] # chown -r oracle:oinstall /u01/oracle/11.2.0/db_1/ [root@localhost ~] # chmod -r 755 /u01/oracle/ [root@localhost ~] # chmod -r 755 /u01/oracle/11.2.0/db_1/ |
6. 配置系统核心参数,oracle用户资源限制,oracle用户环境变量
?| 1 2 3 4 5 6 7 8 9 10 11 12 13 14 15 16 17 18 19 20 21 22 23 24 25 26 27 28 29 30 31 32 33 34 | [root@localhost ~] # memtotal=$(free -b | sed -n '2p' | awk '{print $2}') [root@localhost ~] # shmmax=$(expr $memtotal / 2) [root@localhost ~] # shmmni=4096 [root@localhost ~] # pagesize=$(getconf page_size) [root@localhost ~] # cat >> /etc/sysctl.conf << eof fs.aio-max-nr = 1048576 fs. file -max = 6815744 kernel.shmmax = $shmmax kernel.shmall = $( expr \( $shmmax / $pagesize \) \* \( $shmmni / 16 \)) kernel.shmmni = $shmmni kernel.sem = 250 32000 100 128 net.ipv4.ip_local_port_range = 9000 65500 net.core.rmem_default = 262144 net.core.rmem_max = 4194304 net.core.wmem_default = 262144 net.core.wmem_max = 1048576 eof [root@localhost ~] # sysctl -p [root@localhost ~] # vi /etc/security/limits.conf # add to the end oracle soft nproc 2047 oracle hard nproc 16384 oracle soft nofile 1024 oracle hard nofile 65536 oracle soft stack 10240 oracle hard stack 32768 [root@localhost ~] # vi /home/oracle/.bash_profile # add to the end export oracle_sid=sdzy; export oracle_base= /u01/oracle ; export oracle_home= /u01/oracle/11 .2.0 /db_1 ; export path=$oracle_home /bin :$path:$home /bin export ld_library_path=$oracle_home /lib [root@localhost ~] # reboot |
7. 编辑主机名
?| 1 2 3 4 5 6 7 | [root@localhost ~] # vi /etc/hosts # add 192.168.10.11 oracle [root@localhost ~] # vi /etc/hostname # modify oracle [root@localhost ~] # vi /etc/sysconfig/network |
8. 解压安装文件
?| 1 2 | [root@localhost ~] # cd /opt [root@localhost opt] # unzip p13390677_112040_linux-x86-64_1of7.zip ;unzip p13390677_112040_linux-x86-64_2of7.zip |
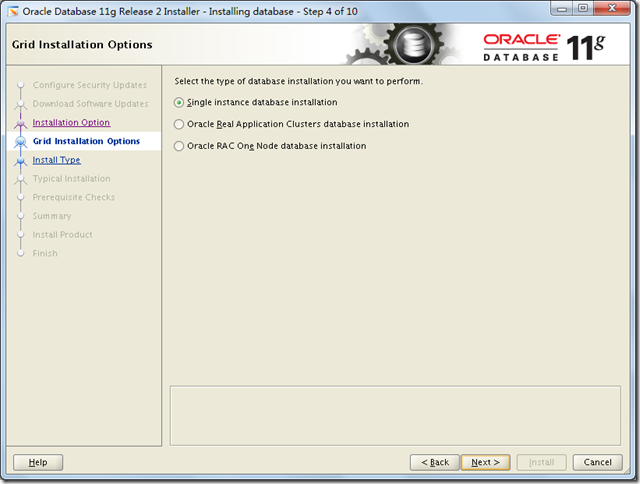
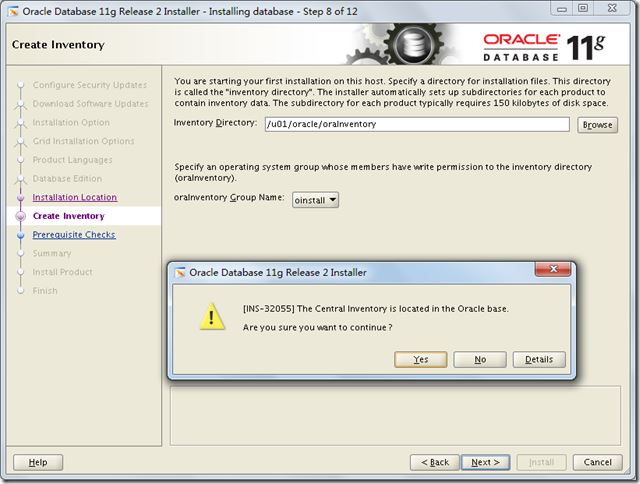
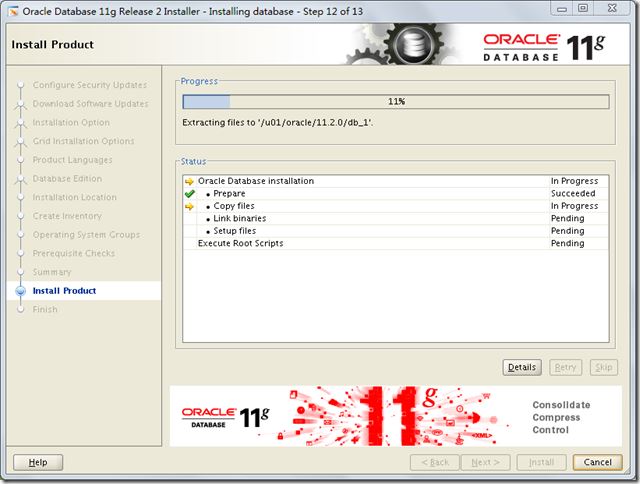
9. 开始安装
?| 1 2 3 4 5 6 7 8 9 | [oracle@localhost ~]$ cd $oracle_home /sysman/lib [oracle@localhost lib]$ cp ins_emagent.mk ins_emagent.mk.bak [oracle@localhost lib]$ vi ins_emagent.mk [root@localhost rhel] # xhost + access control disabled, clients can connect from any host [root@localhost rhel] # su - oracle [oracle@localhost ~]$ export display=10.1.105.52:0.0 #此处ip请改为客户端的ip [oracle@localhost ~]$ cd /opt/database/ [oracle@localhost database]$ . /runinstaller |
[root@localhost opt]# rpm -ivh compat-libstdc++-33-3.2.3-72.el7.x86_64.rpm
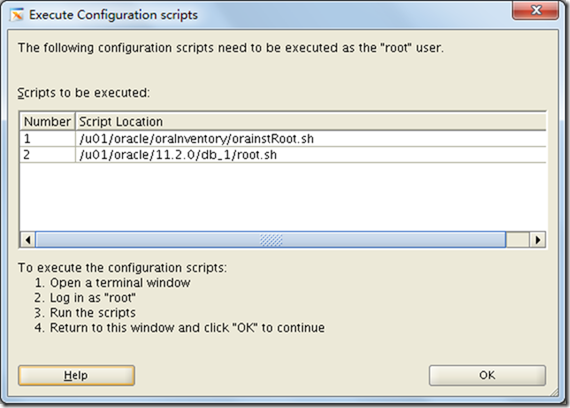
| 1 | [root@localhost opt] # /u01/oracle/orainventory/orainstroot.sh |
总结
以上所述是小编给大家介绍的linux 7.4上安装配置oracle 11.2.0.4图文教程,希望对大家有所帮助,如果大家有任何疑问请给我留言,小编会及时回复大家的。在此也非常感谢大家对服务器之家网站的支持!
原文链接:http://www.cnblogs.com/lightnear/archive/2017/12/14/8036159.html
声明
1.本站遵循行业规范,任何转载的稿件都会明确标注作者和来源;2.本站的原创文章,请转载时务必注明文章作者和来源,不尊重原创的行为我们将追究责任;3.作者投稿可能会经我们编辑修改或补充。